
Are you unsure if you can properly charge cordless handheld vacuums? Let’s talk about that.
Handheld Vacuum cleaners are quickly becoming one of the most popular tools for cleaning and tidying homes. They have the precision that many people what when it comes to cleaning, as well as the power and versatility to get it done quickly.
This is doubly the case for the cordless varieties that you can find out there today. With no cord holding you back, it is incredibly easy to move from place to place while you are cleaning.
The only issue people find is that it is often so easy to clean with these tools, that they often want to continue past the first points, and start vacuuming everything. When that happens, you’ll find that your battery is your biggest enemy.
However, that last point isn’t necessarily the case, especially with some types of cordless vacuum cleaners, as many people who have had to open their handheld cleaning tools for the first time, often, the toughest part of owning one of these is putting the darn thing together in the first place!
Not only that but understanding how to maintain them and keep them in working condition, such as keeping them charged, can also be a nightmare.
Being such a sophisticated piece of equipment in people’s homes, it can often feel quite intimidating putting one of these machines together and is often the reason that many people are turned away from them in the first place.
After all, why worry about assembling or breaking an expensive handheld vacuum, when a larger and cheaper, if bulkier and heavier, cylinder vacuum is also an option?
However, if all that is holding you back are worrying about putting together and charging the vacuum, then a quick tutorial is all you will need to make you ready for owning one of these tools.
This is where our little guide comes in!
In this article, we are going to show you how exactly you can assemble your handheld cordless vacuum cleaner in a few simple steps, as well as how you can charge it for yourself so that you can always have it ready for when you need to start cleaning up your home.
How To Assemble A Cordless Handheld Vacuum
So, before we go any further, we should probably go over how you can assemble your handheld cordless vacuum cleaner in question.
This may seem a little difficult at first.
After all, with dozens, if not hundreds, of different brands and a huge range of handheld cordless vacuum cleaner designs between all of them, how can we confidently create a single guide for how to build them all in one piece?
This is a valid concern, and this is what most instruction manuals are for that come with most vacuum cleaners as standard.
So, if any of these instructions that we have covered so far don’t seem like they will apply to your model, check your instructions to see if they conflict with or contradicts what we have said.
However, we are also confident in making this guide because many handheld vacuums, especially the most notable brands, often share a few key design features. So, whilst the specifics may be different, we can help you make the bulk of your vacuum cleaner.
Assemble The Neck/Wand With The Nozzle Head
As many of you who have recently been looking for a new vacuum cleaner of this type may have already noticed, most, if not all, of the most popular designs have some kind of neck or wand feature that connects to the main rotating head of the nozzle.
This is for when you want to use your handheld vacuum for simple vacuuming of larger floor spaces.
Most models will have some connective point that you can join the two at, clicking into place when you are successful. Should you find yourself struggling, consult your instruction manual for more specific details.
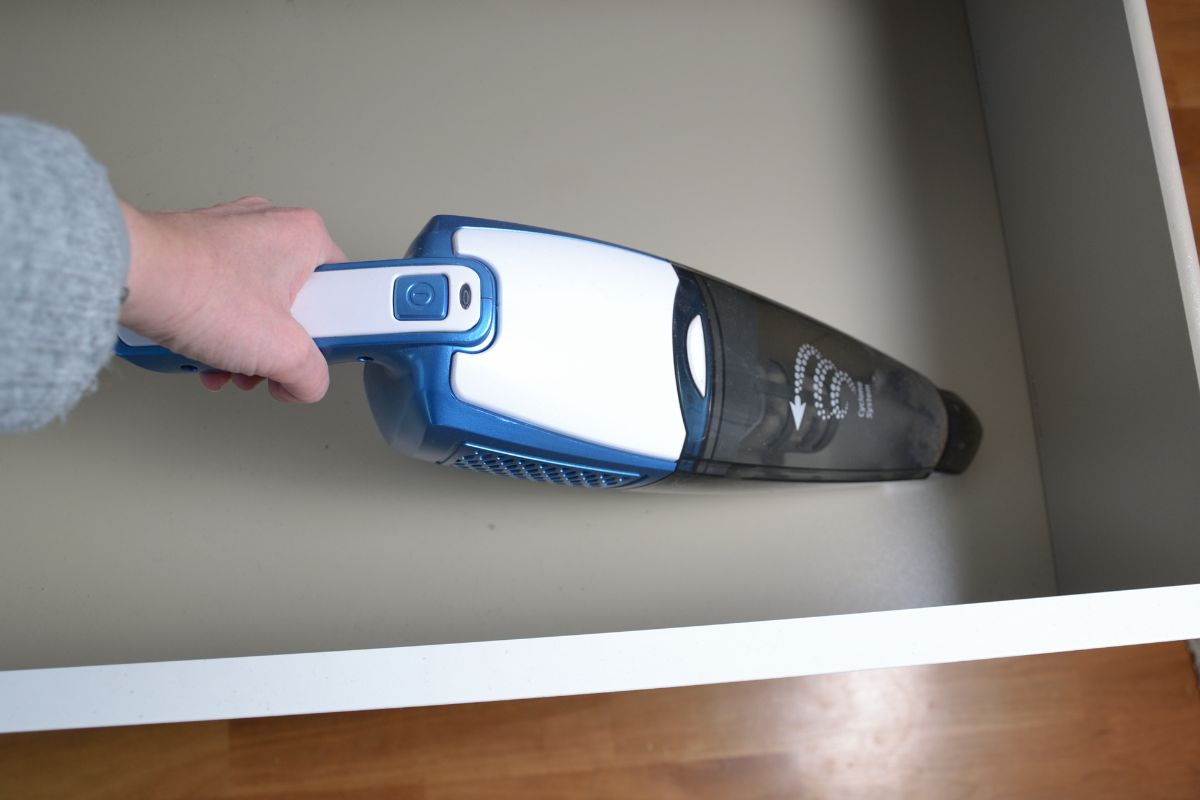
Connecting The Main Vacuum Assembly To The Wand
Of course, your vacuum wand isn’t going to get much done without it being connected to the vacuum motor itself!
The main vacuum motor will probably be the single biggest piece and will also easily connect to the top of the extension wand. Like the nozzle head, this should click into place once it is secured. Check your instructions if this doesn’t seem to work.
And that’s it, your vacuum should be ready to start using. Once, that is, it has been fully charged for the first time!
How To Use A Cordless Handheld Vacuum
This is probably the most intuitive step when it comes to using a handheld vacuum cleaner, and will require the most thinking and comprehending skills on your part.
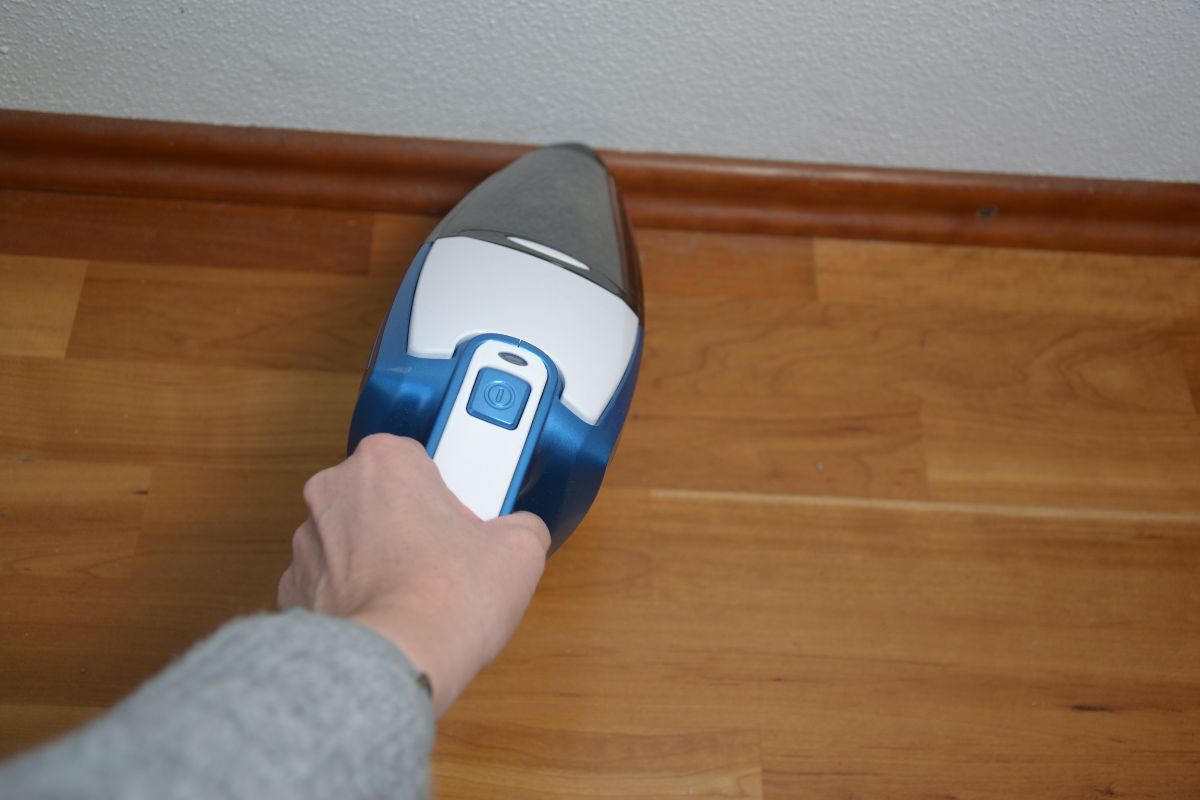
With handheld vacuums, the power button will usually be located around the handle, or otherwise on the main assembly body of the vacuum. Consult your instructions for clarification.
How To Charge Cordless Handheld Vacuums
Now, we come to the part that many people will have clicked on this article for: Learning how to charge your handheld cordless vacuum cleaner!
However, this can often be one of the trickiest parts when it comes to using a handheld cordless vacuum. As we mentioned earlier in this guide, many designs can be found when it comes to vacuum cleaners, and one of the areas where that is most apparent is how these devices are charged.
When it comes to charging them, most handheld cordless vacuum cleaners come in two forms:
Internal Batteries
These models usually have the battery of the model you have purchased located within the casing of the vacuum, and are usually charged with either a direct socket that can be located somewhere on the vacuum assembly (check your instruction booklet for more details) or can be inserted into a dock that is then connected to the mains through a plug socket.
Generally speaking, whilst it is sometimes possible to replace the batteries of these models for yourself, that also includes potentially messing around with and altering the internal mechanics of the vacuum, just to get to the batteries themselves.
Usually, most people will take these to a professional mechanic or back to the manufacturer to replace them.
External Batteries
These are battery casings that slot into the main vacuum assembly piece in some way (the location will often vary, depending on the manufacturer. Check the instructions for more precise details) Usually the battery casings will be plugged into the mains via a wall socket or can be charged in a docking station that is plugged into the mains
The batteries for these models are easy to detach and reattach, and can often be sold separately for extras. Great if you are worried about needing more than one battery charge to complete a clean.
The exact charging time can vary. Whilst 4 hours is often the minimum amount of time that a cordless vacuum will need, you should consult your instruction manual for more details.
Final Thoughts – Charge Cordless Handheld Vacuums
As you can see, whilst handheld cordless vacuums may seem intimidating at first, with a little guidance, and the instruction manual, it is surprisingly simple!