
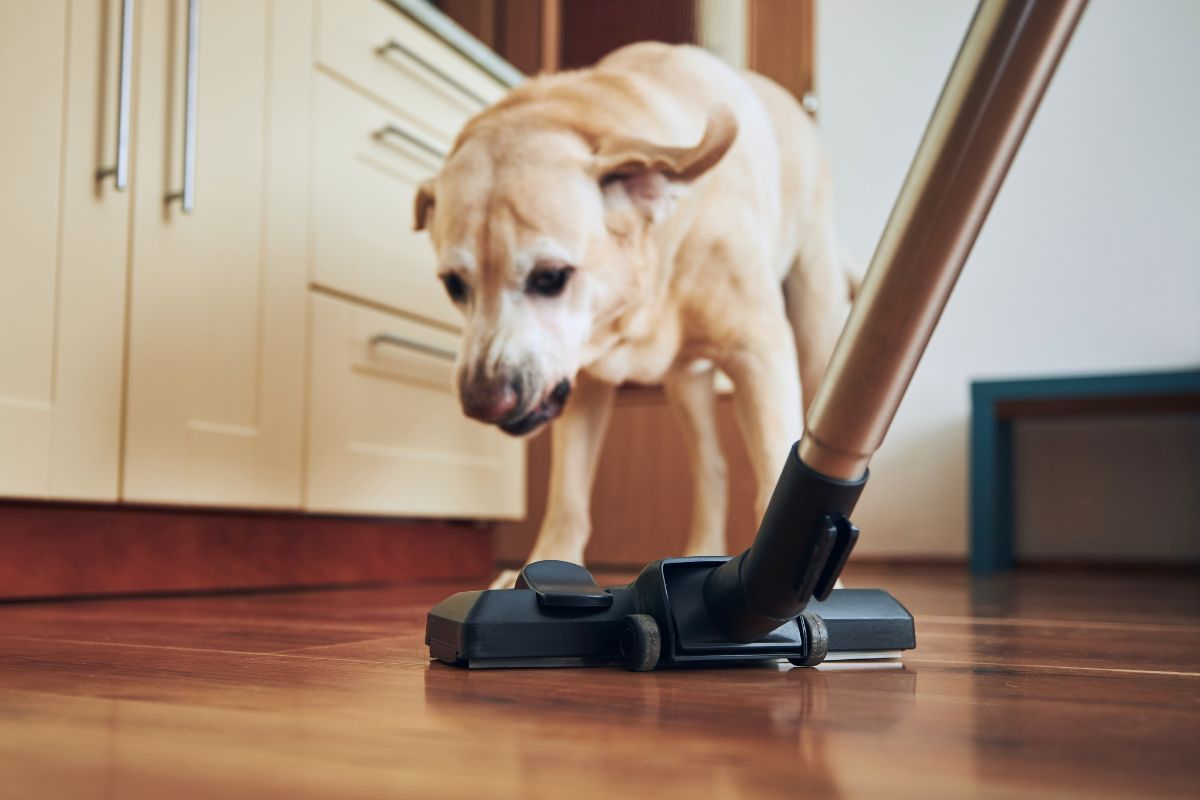
Let’s talk about ways to clean a Dyson V8 properly.
Dyson is the leading company when it comes to all things technical, and their vacuum cleaners are no exception.
When their Dyson V8 cordless vacuum was introduced, it dominated the market, and for good reason!
This vacuum is powerful, cordless, and has a great battery life! To top it off, due to its age, it’s now relatively cheap, so it’s a good option if you’d like a Dyson but don’t want to spend too much money.
This article is going to provide you with a guide on how you can clean your Dyson V8 thoroughly, from the filters to the brush head!
What Is The Dyson V8?

The Dyson V8 is a cordless, battery-powered vacuum cleaner that was released in 2016. It consisted of a cleaner head with a soft roller for hard floors, and a motorized cleaner head for carpets.
It has a very strong suction power, great cleaning performance, and good battery life.
Dyson is known for its high-end technology, but that comes with a hefty price tag. However, due to the age of this vacuum, you can now buy it for a decent price, and it is still a very good cordless vacuum cleaner.
How To Clean A Dyson V8
Now that you know what the Dyson V8 is, this article will be guiding you through how you can clean all aspects of this vacuum, starting with the filters.
How To Clean The Pre-Motor Filter
There are two motors inside the Dyson V8. The pre-motor filter is in the middle of the cyclones, and the post-motor filter is located behind the motor.
Both of these filters can be washed, but you should avoid using soap as it can make its way through the material of the filter, eventually causing some damage.
You should begin by removing the pre-motor filter and rinse it under running water from your tap.
You can remove the top of the filter by using a blunt tool. Just make sure you don’t do this too hard, as this could damage the plastic keeping the filter in place.
Do not scrub it with a sponge, as this can also damage the material of the filter. Once it’s been thoroughly rinsed, wring out the water and let it dry completely before attaching it back to the vacuum.
The filter should be cleaned around once a month, but you should check it every so often to see if dirt is accumulating.
How To Clean The Post-Motor HEPA Filter
HEPA stands for high-efficiency particulate air and is an air filter that contains a mesh. This mesh traps harmful particles. These are very useful at trapping pollen and any pet dander.
While this filter doesn’t need as frequent cleaning as the pre-motor filter, if you do notice an accumulation of dirt, you can clean it by doing the following.
Start by twisting the filter counterclockwise. This will unlock and remove it from the rest of the vacuum.
Then, as you would do with the post-motor filter, simply rinse it under running water to remove any dirt. Do not scrub at it or use a sponge, as this could damage it.
Shake it well to get rid of any excess water, and let it air dry completely before reattaching it.
How To Clean The Brush Head
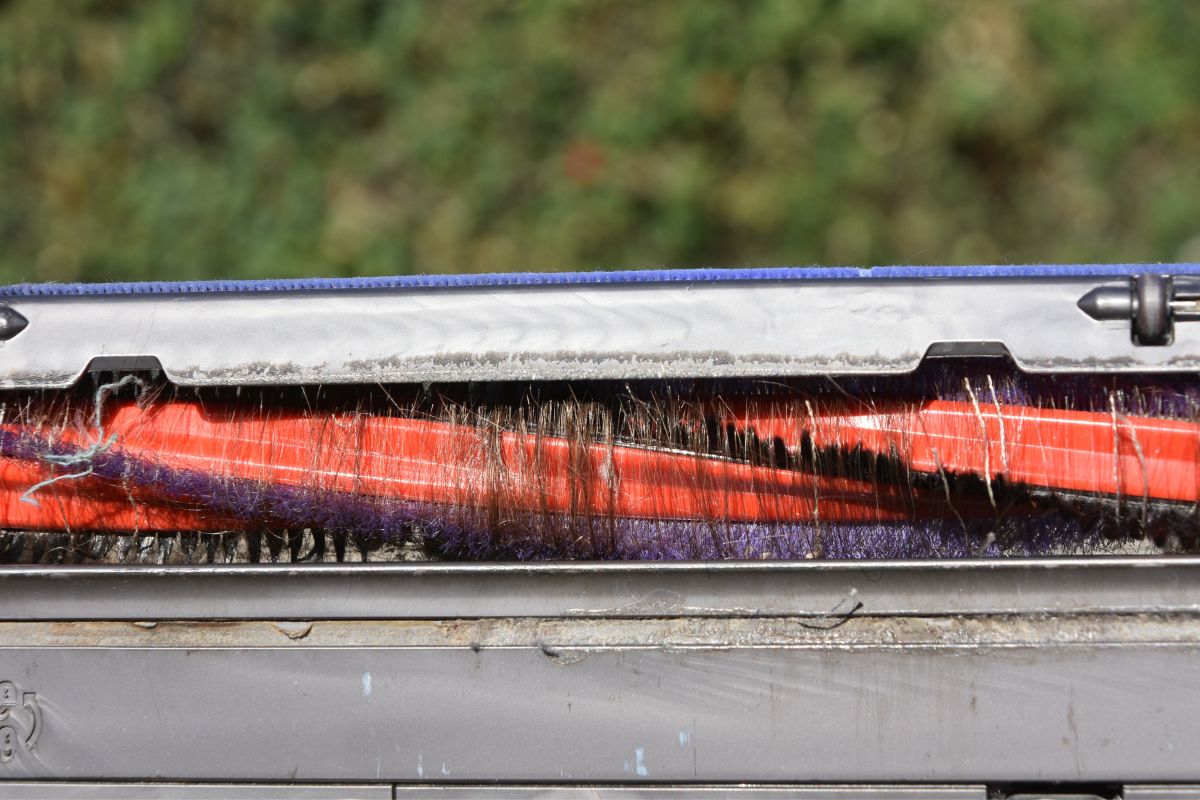
The Dyson V8 has two cleaning heads, the standard brush, and the fluffy attachment.
Fluffy Attachment
In order to clean the fluffy attachment, reach underneath it, and there’ll be a plastic bolt. This is what holds the roller bar in place, and you can unlock it using a coin.
Then, you’ll notice an arrow on the right-hand side. Push this down and the soft roller will be removed.
Once the soft roller is removed, the smaller roller behind it will also come out. Once all the components have been removed, you can clean them with cold water only.
Do not scrub them or use any soap, just run them under cold water and let them dry.
Once dry, reattach them and lock them in place.
Main Cleaning Head
To clean the main head, you should begin by removing the cap that holds the brush in its place. This can be done using a coin.
By twisting the coin, the cap will come off, and you’ll be able to remove the lid and brush. If you notice any hair wrapped around the brush, cut through it with some scissors and you’ll be able to remove it.
Once you’ve done this, wipe all components with a microfiber towel. You do not need to run anything under cold water.
Once everything has been wiped down, reattach the components and use the same coin to lock everything back in place.
Should You Clean The Cyclone?
While you can remove the cyclone on your Dyson V8 to clean it, this is something that Dyson does not recommend.
If you do remove it, it could void your warranty. This should only be done by someone who is knowledgeable about DIY, as it involves a lot of unscrewing, and removing.
The cyclones in Dyson machines are made to the highest quality possible, so as long as you are cleaning the other parts of the machine, the cyclone should not need to be removed.
Final Thoughts
To conclude, all filters and components of Dyson vacuums are meant to last the entire lifespan of the machine.
However, cleaning them thoroughly every so often, using the methods mentioned in this article, will ensure that your vacuum is working to the best of its ability.
If you do notice that your vacuum isn’t working properly, it could be due for a good clean.
As stated above, no soup should ever be used as this could damage parts of the filters and other important parts.
The same goes for sponges. You should never scrub the parts of the vacuum you are cleaning, and this could wear away and damage any important materials.
We hope this article has provided you with a useful guide on how you can clean your Dyson yourself at home!