
Let’s learn how to clean a Shark Navigator and the importance of doing so.
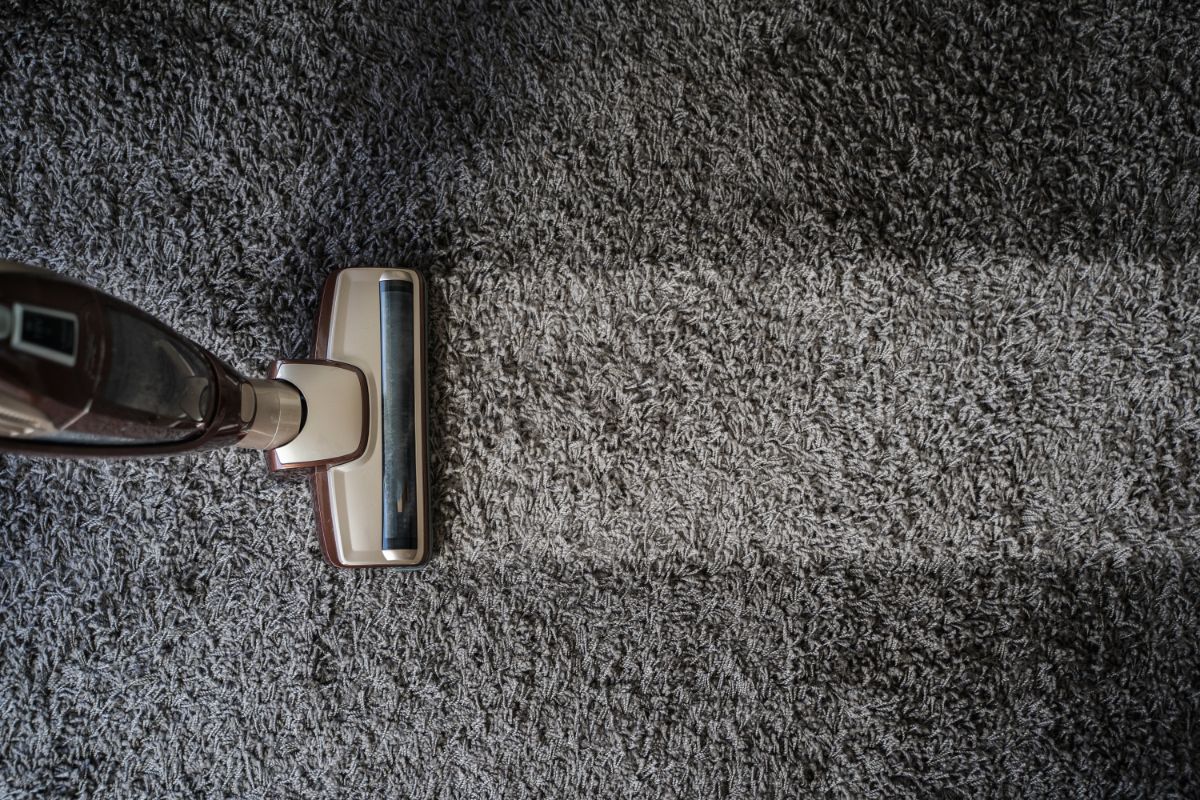
The Shark is the best cordless vacuum cleaner for the money. It is exceptionally easy to maneuver, even in tight areas like corners and narrow hallways. It is great at cleaning hard-to reach places, thanks to its lift-away feature.
Its modular design means you can easily remove any part and replace it if it breaks. It is also very affordable, making it a great choice for those looking for a high-quality vacuum.
Vacuums have improved quite a bit in recent years, but the Shark is still the best cordless vacuum you can get. Robot vacuums are getting smarter, but the Shark is even better at cleaning your floors. What makes it so great?
The Shark Navigation Vacuum cleaner is an all-in-one solution for your house.
It offers powerful suction and vacuuming, while also providing great results on most types of floors. For those who need to Shark clean harder surfaces, like carpets, you will appreciate the brush roller shutoff feature.
There is also a HEPA filter that captures 99.999% of dust and allergens, making it safer for allergy sufferers.
Shark vacuums are among one of the most popular vacuums on the market. Many models have multiple filters to keep the dust out of the air and the unit itself.
Cleaning your vacuum’s filter regularly will help maintain its suction power over time. All of the filters included with your vacuum, including HEPA ones, can be cleaned or rinsed for re-use. How can you tell if your vacuum needs cleaning ?
Signs That You Need To Clean A Shark Navigator Vacuum
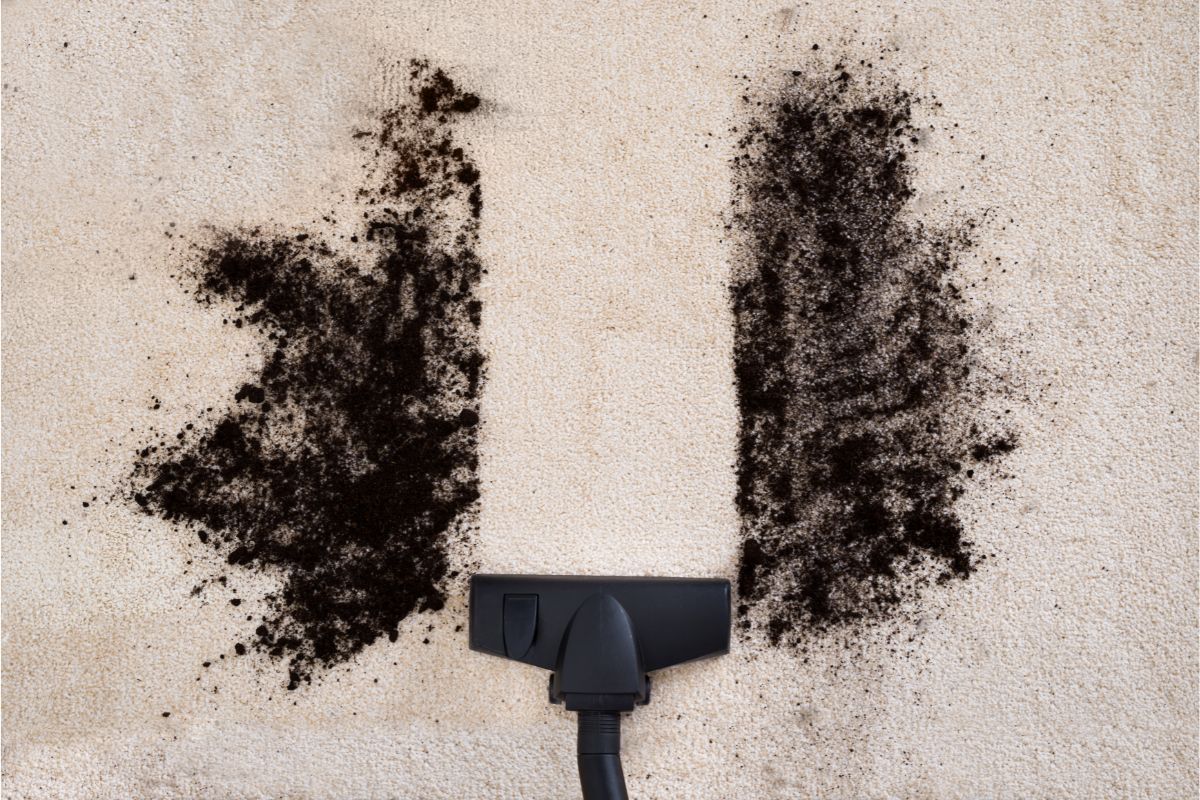
One of the biggest signs that your vacuum needs cleaning is loss of suction, this might also suggest there’s something blocking the hose.
You may also see an accumulation of hair or other debris around the nozzle or intake port or visible dirt left after vacuuming. When your vacuum is working well, you won’t see any visible dirt left behind after vacuuming.
You may also hear a Weird sound. Your vacuum might make a strange noise when it doesn’t get enough airflow. This could mean that it needs to be cleaned or serviced.
Shark vacuums should not smell like anything unpleasant at all. If you notice anything unusual about your Shark vacuum, then you might need to clean it.
Regular Cleaning
Clean your vacuum cleaner at least once per month and check its parts for damage or wear. If you notice any problems, contact the company for advice to check it isn’t a fault.
Some companies offer warranty programs and repair services. You may also be able to get a discount if you buy a new unit instead of repairing the old one.
The Shark Navigator User Manual recommends cleaning the pre- and post-motor filters every 3 months and once per year.
Materials Needed To Clean A Shark Navigator Vacuum
The first step is to collect the right equipment/tools. You will need:
- Large sink.
- Medium sized bowl.
- Small microfiber cloth.
- Rubber gloves.
- Drying rack.
- Scissors.
- Trash can.
Steps To Clean A Shark Navigator Vacuum
Step 1
First, make sure the vacuum cleaner is turned off. Then remove the dust canister and all other parts. Make sure there is nothing connected to the power cord. You will need to disconnect the hoses first.
Be careful when you detach the hose, If something gets caught on the hose, pull hard so it doesn’t get damaged. Once everything is removed, check if anything is stuck inside. If it is, gently push it out.
Step 2
The next step is to check the various openings on the vacuum. Many things can get stuck in our vacuum cleaners especially hose with powerful suction like the Shark so be sure to remove anything that is stuck in the pipes or openings.
Step 3
Next, empty and clean the dirt container. Open both ends of your dirt container over a trashcan and empty everything out. Put the container in a sink of hot soapy water and open both ends of it and pour all of the contents into the sink.
Use a long handled brush or a rag to get inside the container and scrub it clean. Rinse it well and dry it with a microfiber cloth.
Step 4
Start by cleaning under the vacuum cleaner. Make sure the vacuum is unplugged! Remove any debris that has wrapped around the brushes. Then lay the vacuum flat on the floor. Place a garbage bag underneath if you want to avoid any mess. Now you are ready to clean.
Step 5
It’s also important to clean the HEPA filters. Most vacuums come with two sets of filters, so it makes cleaning them easier because you won’t have to wait for the filters to dry before using your vacuum again.
First, you’ll need to remove the filters. These can usually be found under the dirt container. Wash them thoroughly by hand until clean. Use a small amount of Dawn Dishwashing liquid on each filter.
You should always check your filter after each vacuum cycle. If there is any excess moisture left then it will cause clogs. Squeezing out all the water is important because if it remains inside the filter it will eventually cause a blockage.
Once you have squeezed out all the excess water, let the filters dry for at least 24 hours. There is no need to wait until the filters are completely dry. Just leave them overnight and check them the next morning.
If you see any excess moisture then squeeze it out again. Repeat this process until there is none remaining.
Step 6
After you have finished cleaning your vacuum you may notice that there is an immediate increase in the suction power. This is because all the filters are clean and are free of debris.
If there were any foul odors, then they should have already been removed when you cleaned your HEPS filters. Now you can vacuum your way to a healthier home!
In summary – Clean A Shark Navigator Vacuum
Buying a Shark vacuum really is a good investment. And if you keep in clean and well maintained it should provide you with a sparkling home you can be proud of for many years.