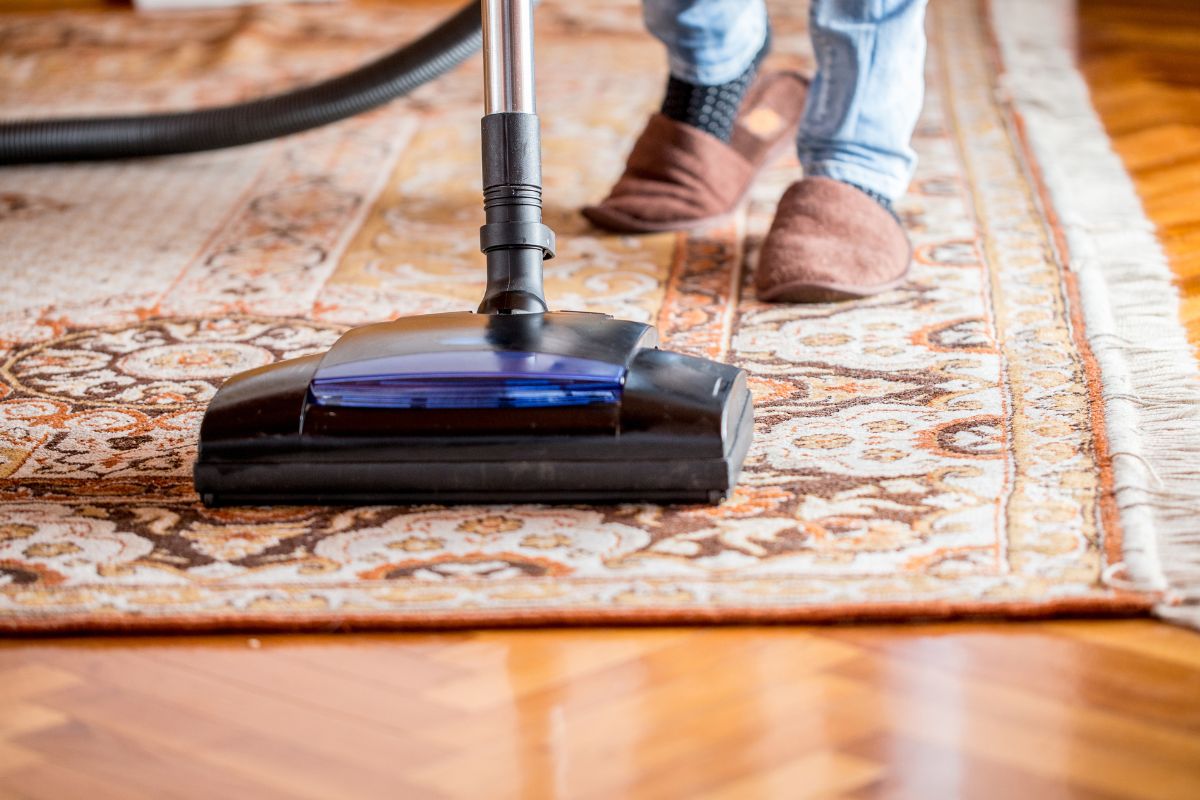
Today we will be taking a look at how to clean Bissell Proheat 2X Revolution models.
This is one of the most lightweight and maneuverable models in the Bissell range, and for an upright model, it does a super job at removing debris and dirt with its water-based cleaning from a number of different surfaces and is also super at removing pet hair and giving a carpet a spotless finish.
However, to maintain the integrity of your vacuum, you need to ensure that it is kept in a good condition so that it can perform at its most efficient level.
Therefore, ensuring that it is kept clean and free from debris will mean that you have better suction power and overall better performance.
How To Tell If Your Bissell Proheat 2X Needs Cleaning
There are a number of clear indicators that will arise to suggest your Bissell needs cleaning.
The first and most obvious is that your performance dramatically reduces, and the model no longer picks up dirt, debris, and hairs as efficiently as it used to.
You can spot this as it may take several runs over debris to remove it from your surfaces.
It will also no longer be able to effectively remove stains from carpets which should be clear to see.
You may also notice that your vacuum is making a strange sound, which could indicate that your machine is plugged with too much dirt and debris.
One other way to check the function of your vacuum cleaner is to check the smell of the water located in the reservoir tank.
If there is a weird smell or it has a foul odor, this likely means that it needs some TLC and you will need to follow the steps below to clean it.
How To Clean Bissell Proheat 2X
Before beginning to clean your vacuum, you must remove the vacuum from any power socket and ensure that it is correctly switched off, for safety reasons.
Reservoir Water Tank
The first step is to ensure that the reservoir tank that is located at the top of the model is cleaned.
To do this, you simply need to remove it from the base model and pour the water out of the reservoir into a large sink.
Be wary when taking the attachment off of the vacuum as it tends to drip water, which can damage your flooring, especially wooden floors.
Before adding more water to the tank, give it a good rinse using warm water, and let it flush through a few times to make sure that it is fully cleaned.
We would also recommend giving it a shake and turning it a number of times to fully immerse the tank in fresh water for cleaning.
Pour this old water out and you can then begin to fill it with fresh water and cleaning solution together in the tank.
If you are not sure how much water needs to be added to the reservoir, simply check the back of the tank and it will display a level to guide you.
Make sure you put the cap back on tightly and you have successfully cleaned the tank.
To ensure that you have correctly followed the steps above, you can do a test run by simply turning on the vacuum for 15 seconds whilst making a back and forth pass on a dirty area of the carpet.
This will show whether the water is now clean and ready to use.

Waste Tank
The waste tank is located just below the water reservoir tank and can be removed by simply pushing the handle down which loosens it, making it easy to then remove.
The first step is to remove the old, dirty water from the tank and empty it into a sink or outside in your chosen area.
Similar to the clean water tank, you will need to make sure that you rinse out the waste tank a few times with warm water. Make sure to turn the tank a few times and give it a good shake to get all areas.
One important step is to make sure you remove the float stack which can be found on the inside of the tank. Give it a good wipe using a clean cloth or towel, and rinse it with warm water.
Once this has been completed, pull down the loose piece of the float and then line up the arrows just before placing the stack back in the dirty tank. Secure it with the plastic ring and return it to the base machine.
You can then check over the exterior of the vacuum cleaner and make sure that there are no obvious signs of dirt and debris. Give it a good wipe if there are marks on it.
One spot that often gets missed is the foot of the machine. To check this area, you can lay the vacuum down and check underneath. Chances are that it will need a wipe if it has been a while since its last clean.
Simply clean off aunty dirt and debris from the brush roll which can be achieved using a comb that comes with the model.
Final Thoughts
The above steps should effectively clean all the areas of your Bissell Proheat 2X and allow it to work efficiently for as long as possible.
We recommend that you check over the vacuum regularly, and ensure that it is cleaned to ensure that performance is monitored and you have the cleanest surfaces!
Frequently Asked Questions
Where Are The Buttons Located On The Bissell Proheat 2X?
The button to loosen the tank on this model can be notoriously difficult to find.
It’s located on the side of the base machine right by the area where the dirt and debris are picked up and is indicated as a bright orange button.
If you are looking for the power button, you can find this by pressing down on the trigger button which is located on the handle.

