
Are you looking for ways to clean your Bissell Turboclean Powerbrush pet? Let’s talk about that.
If you’re a pet owner, then you will know how much mess they will leave all over your house. Whether it’s hairs or liquid, you’ll want to clean immediately so they don’t get worse – or smell.
A great way to clean them is by using a vacuum cleaner, but it’s best not to use any old cleaner. Instead, you should go for a pet-orientated vacuum cleaner.
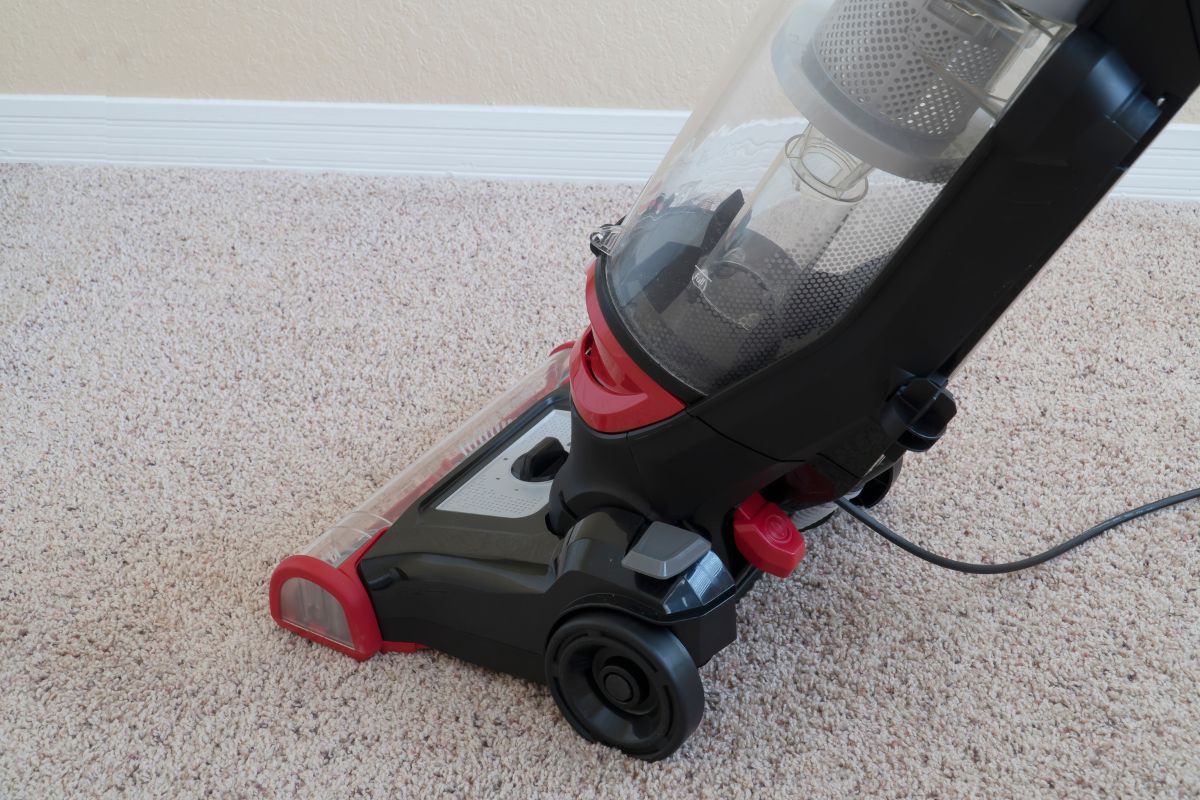
The Bissell Turboclean Powerbrush Pet is one of the best pet-related vacuum cleaners on the market, allowing owners to clean their pet mess.
However, like all vacuum cleaners, it needs to be emptied and cleaned regularly.
If you don’t, then it will start to work less well and be less effective – which you don’t want when cleaning up essential stains such as these.
So, how do you clean the Bissell Turboclean Powerbrush Pet?
Well, we’ve got the answers for you.
In our informative guide below you’ll find a detailed breakdown of how to clean your Bissell pet vacuum cleaner and have it back to proper working condition.
Follow the instructions carefully, and you’ll be back to strong vacuuming in no time.
How To Empty The Bissell Turboclean Collection Tank
- Use your foot to press the red power button, turning off the unit. Then go over to the plug socket and turn it off, before unplugging the vacuum too. Make sure that it has cooled down and is definitely not plugged in before you go to empty the tank.
- Find the latches either side of the tank and release them, then pull the tank up from the bottom of the latches and easing it out. Being careful, hold the tank carry handle and lift up the tank to remove it.
- Take the collection tank over to a sink (or a toilet will do too). Then find the opening at the back of the tank and open it up, before pouring the content of the tank out into the sink or toilet.
- Once it’s all empty, go and rinse the tank out. Do this thoroughly, leaving nothing inside it. Then dry it off, making sure that none of it is wet, and replace it into the vacuum unit. Ensure that it’s secured with the latches on both sides.
- Then refill the clean water tank, before waiting for everything to dry. Once it’s all dried, you can clean again.
How To Clean The Bissell Turboclean After Use
- Turn off the vacuum cleaner and unplug it safely. Make sure it’s not warm when you clean it, and definitely unplugged.
- Remove the collection tank and rinse it, like the steps listed earlier. Then look at the top of the tank and remove the foam filter and tank vent. Rinse those too.
- Keep the tank removed from the vacuum unit. Pull its front tabs up, unhooking the nozzle. Rinse the nozzle and dry it. Til the machine so you can align the nozzle hooks again, clipping it back into place.
- Without removing the red gasket itself, remove hair and lint from the gasket.
- With the parts rinsed and dried, secure the tank back into the unit with the latches. Wrap the power cord around the quick release system on the side of the machine, then wipe all surfaces with a cloth. Store in a dry area.
Why Should You Clean And Empty Your Bissell Turboclean?
It is worth explaining why it’s always a good idea to regularly empty and clean your vacuum cleaner, from belts to bags, dust caps to rollers, no matter which type you have.
For one, you need to empty out the vacuum bag regularly because otherwise you won’t be able to clean up any more dust and dirt.
This is for a very simple reason: it will have nowhere to go. When you vacuum up dirt and mess, it all goes and gets stored in your vacuum bag, or a dust cup with some models.
Once there, it will just sit and collect in the bag until it is disposed of. If you don’t empty it out, eventually the bag will fill up completely and there won’t be any room for new dirt to be stored.
You can also imagine the lack of hygiene that comes from letting dirt collect and sit in a bag for weeks, maybe months, on end.
Like anything, dirt will progressively get worse over time and grow old, and you don’t want to be throwing away a bag of year old mess.
On top of that, the dust and dirt that you collect actually clings onto lots of mold and germs. If these are left to sit and stay in the bag, it will become increasingly unhygienic and unsafe.
For that reason, it’s best to regularly empty out the bag so that you’re not holding onto a collection of germs.
If they are left, they could take hold in the vacuum cleaner itself, and be much harder to remove.
You should empty the bag whenever it is about ¾ filled up. Leaving it to fully fill up every time could cause problems.
It is also very important to clean out the vacuum itself, especially the filter.
This is because the mess and debris that you pick up can always get lodged in the actual workings and mechanisms of the vacuum.
Additionally, muck will always build up there too, and so it needs to be cleaned.
This will affect the performance of the cleaner, making it less effective and cause it to have weaker pick up and suction.
Cleaning out the filter is a key part of this, and a clean filter will ensure that things run smoothly and properly.
Final Thoughts
Cleaning a vacuum is essential to its performance, so follow our steps carefully!