
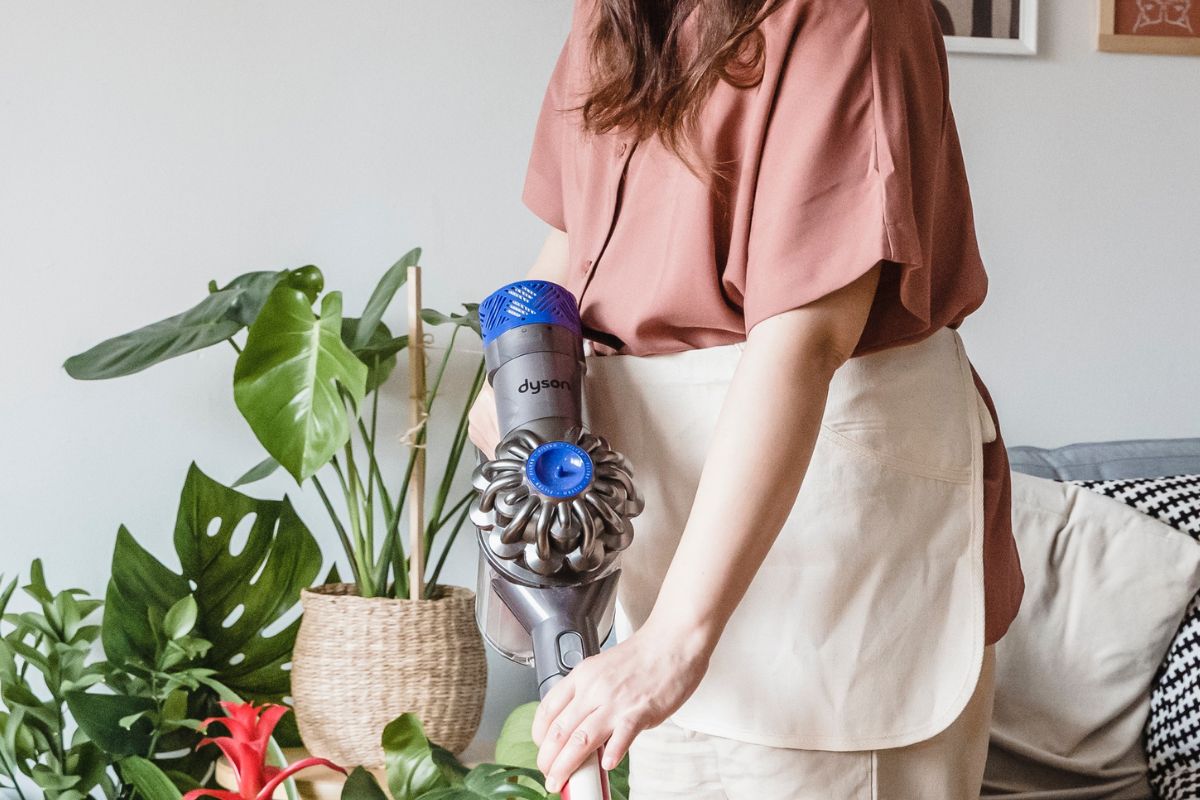
Let’s talk about how you can clean Dyson ball filters.
As far as the more traditional style of hoover goes, the Dyson Ball, in its many iterations, is one hell of a vacuum, and with that ball pivot core, it’s not completely devoid of Dyson’s signature ingenuity either.
But, like all vacuum cleaners, whether they follow an older blueprint or they’re a more modern design, the Dyson Ball needs its filters cleaned from time to time in order to optimize performance and keep your floors clean enough to eat off.
Finding and cleaning the filter can feel like a pretty daunting job at first, but here at 8sgr8, we’ve got your back. Welcome to our comprehensive guide to cleaning the filter in a Dyson Ball vacuum.
What Will I Need To Clean Dyson Ball Filters?
We’ve got some good news for you. You’re not going to need any special instruments to give that filter of yours a good once over.
Well… actually, in a few instances, you’ll be cleaning filters, plural, as many Dyson Ball models arrive with pre filtration as well as post filtration.
Either way, though, it’s a quick, painless process that can be completed in 24 hours. All you’ll need is…
- The filter(s)
- Cold, clean water
- A suitable place to leave your filter(s) to dry
Let’s break it down step by step.
We’ll start with the upright designs, as, structurally speaking, they’re a little different.
How Do You Clean The Filter In An Upright Dyson Ball?
These are the models that typically contain two discrete components for pre and post suction motor air filtration.
Switching Off Your Dyson Ball
Before you start digging around in your vacuum, it’s essential that you switch your hoover off. Use the on-unit power facilities to turn the hoover itself off.
The on/off button is situated on the front of the stem, just below the handle section.
Just to be safe, we’d also recommend switching off the wall outlet and unplugging your Dyson Ball altogether.
Locating & Removing Your Filters
With all electronics powered down, you’ve got the green light to get hands-on and seek out those filters.
You’ll find the post filter within the ball itself, but first, it makes sense to remove the cyclone and empty out the bin. To remove it from the base and stem, look for a small button just beyond the power switch.
Push it down whilst pulling the canister away from the rest of the unit.
With that bulky bit of gear out of the way, lie the base and stem on its side on the floor. On the side of the ball, there should be a shiny cap with grip recesses.
Use the recesses to gain purchase on the cap and turn it anticlockwise until the ball cover pulls away.
Beneath the cover, you’ll find the filter. To remove it, quarter-turn the filter baffle anticlockwise to uncouple it from the base.
Flip it over, and around the circumference, you should see three latches. Release all three and pull the baffle from the filter.
Now we need to find the pre filter, which is inside the cyclone and bin you removed earlier.
Stand the cyclone/bin upright and unlatch the plastic handle on which you found the cyclone release mechanism. It will swing backwards, revealing the pre filter.
To bring this step to a close, simply pull the filter out of the cyclone.
Washing Your Filters
Before you turn your cold faucet on and rinse your filters, give them a gentle tap on a solid surface to remove any excess debris.
Once that’s out of the way, you can go ahead and turn on your faucet and give the post filter a rinse.
Hold it under the tap, and after every 15 seconds or so, give it a tap on a hard surface to remove more debris and speed up the cleaning process. Continue until water runs clear from the filter.
Now grab the pre filter and run it under the cold faucet. Be sure the water goes through the middle of the filter as well as through the filter walls.
Again, give it a tap every so often and repeat until the water runs clear. When it does so, wring the filter out.
Drying Your Filters
Select a warm location with good airflow, and leave both filters to dry for 24 hours. Once completely dry, you can reassemble and vacuum as normal.
What Will I Need To Replace My Filters?
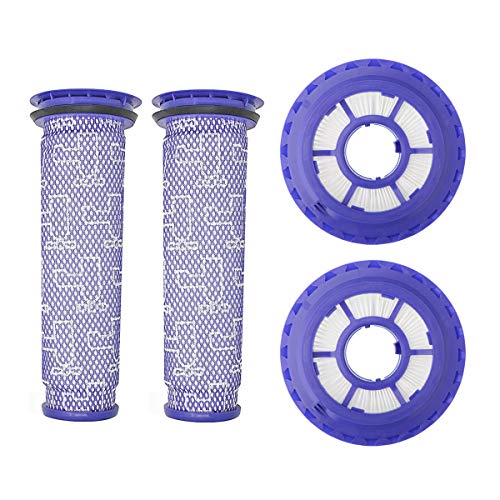
Usually, every 3 to 12 months (depending on how much you vacuum), you’ll need to replace the filters in your Dyson Ball. There are plenty of options on the market, but we highly recommend these Lemige replacements.
How Do You Clean The Filter In A Dyson Big Ball Cylinder
Dyson Big Ball Cylinder vacuums only have one filter, which makes this process even easier. So, let’s get the ball rolling (sorry, I couldn’t help myself).
Switching Off Your Dyson Big Ball Cylinder
As we did for the upright vacuums, we need to make sure the hoover is completely switched off and unplugged.
Locating And Removing Your Filter
This time around, the filter is built into the top of the bin.
To get it out, first, you have to uncouple the bin from the ball, which can be done by pressing the red button on the handle whilst pulling the bin away from the base.
The handle on the bin is attached to the lid. Pull it back and the bin will open, revealing the filter. Carefully remove it from inside.
Washing Your Filter
Here we have another repeat process. Tap out any excess debris on a hard surface, then rinse the filter thoroughly with cold water, taking pause to tap at 15-second intervals. When the water runs clear, wring the filter out.
Drying Your Filter
Similarly to the filters in the other Ball models, you’ll need a warm, well ventilated spot to air dry it for 24 hours.
When Should I Replace My Filter?
The same rules apply to all Ball vacuums when it comes to filter replacement: every 3 to 12 months based on frequency of use.
Filters for the cylindrical model are pretty hard to come by these days, so we’d recommend getting a brand name replacement.

Final Thoughts
Hopefully your Dyson Ball filters are now squeaky clean, and soon, your floors will follow suit — hooray!
If cleaning your filters didn’t have the reinvigorating effect on your vacuum that you thought it would, it’s probably time for a replacement.