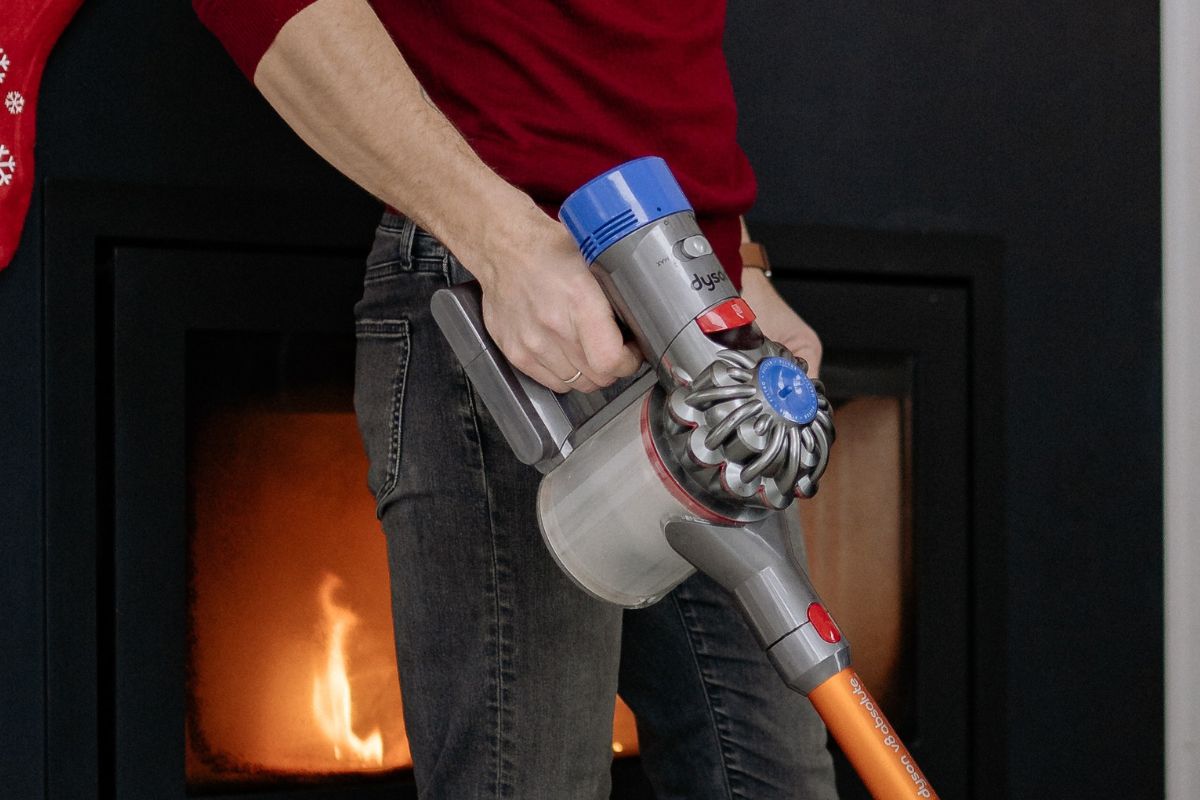
Let’s learn how to clean Dyson V8 filters.
If you own a Dyson vacuum, you know how well they can function when they are performing at their peak.
However, if you do not learn how to properly maintain your vacuum, you will not be able to keep up this same level of performance and slowly your Dyson will begin to degrade in quality.
The best method to keep your Dyson performing at its best is to make sure to only use it for the work it is designed to do, as well as making sure it is clean and there is nothing clogging or impeding its suction or exhaust.
The second half of this advice is what we will be focusing on in this article.
Why Its Important To Clean Dyson V8 Filters
Keeping your Dyson clean is usually not too difficult. Dyson want their products to be easy to clean to maintain their reputation for such high-quality and durable products which do work well.
While there are some obvious ways of keeping your Dyson clean like regularly emptying the dust bin, making sure there is nothing stuck in the brush head, and making sure there is nothing stuck in any of the inner workings or the nozzle, there is one task that is often overlooked but still incredibly important.
Making sure to change the filter when it needs to on your Dyson will ensure that the Dyson is properly filtering any particles that are coming out of your exhaust, but also makes sure the air flow of the Dyson is not impeded, and the suction can work at full power without getting stuck in a filter.
Different Dyson vacuums have different filter systems with some having just 1 while others have a few, while some need to be replaced, while others can be washed and reinstalled.
This particular article covers how to change the filter on a Dyson V8 specifically, but if you have a similar model, some of the advice should still be useful.
If you have a Dyson V8, and you are unsure on how to properly change and clean your filter system, keep reading!
How To Clean The Filter Of A Dyson V8

The Dyson v8 has two filters which it uses.
The first is the pre-motor filter which will be located in the middle of the cyclones, and the second is the post-motor filter, which as the name suggests, sits behind the motor.
Luckily, both of these filters can be washed meaning you will not have to spend extra on buying a replacement filter when they eventually get clogged.
There are some people who would recommend using soapy water to make sure all dirt is removed, but this is not recommended as the soap will eventually permeate itself into the material of the filter and this will make it much less effective at filtering dirt once it has been reinstalled.
This will also make it significantly harder to rinse with bubbles being produced for an extended period of time.
Cleaning The Pre-Motor Filter Of A Dyson V8
Removing the pre-motor filter should not be too difficult to remove due to its location and its design, but for specific instructions on how to remove it, the manual of the V8 gives clear directions on how to do so.
You will then want to bring the filter to your sink making sure that not too much excess dirt falls off, then start running the water over the filter.
You will want to try and rub off any sections of dirt which do not naturally dislodge, but avoid scrubbing as this could easily damage the material.
Once the water is running completely clear out of the filter, make sure that you have cleaned all crevices and then leave it to dry.
Do not reinstall until it is completely dry as this could damage your vacuum.
If you vacuum frequently, it is recommended to buy a back-up filter to compensate for the time the filter spends drying, but if this is not an issue do not worry about this.
You will want to make sure that you are cleaning your filter once every month if you use it regularly, but if you use it more often, you may want to check the filter after every few uses to check how much dirt has accumulated.
Cleaning The Dyson V8 Post-Motor HEPA Filter
Make sure that the vacuum is completely turned off and not accessing any power. You can easily remove the filter by twisting it counterclockwise to unlock it and then remove it.
Similarly to the previous filter you will want to run all parts under running water to dislodge any dirt and do this until the water starts running out clear.
Once this has been done shake off any excess water thoroughly and then let it dry completely.
Like the previous filter you will want to give enough time for the filter to properly dry before you think about reattaching the filter to the Dyson.
Luckily, this filter will not need to be cleaned as frequently as the pre-motor filter so just check to see how much dirt has accumulated before you try to clean it.
It is generally recommended to clean this filter every 3 months but of course this will vary depending on how often you use the vacuum.
Takeaway
So as you can see from these instructions, cleaning both of the filters for the Dyson V8 is not too difficult and the main issue they create is just having to wait for them to naturally dry.
If you do not use your vacuum too often, this is unlikely to create any issues, but you can buy replacements if you need a filter for when these are drying.
Make sure to let both filters properly dry before reinstalling and if you do so your exhaust and suction speed should be perfect once you are using the vacuum again.

