
Do you want to install Dyson docking station but don’t know how? Let’s talk about that.
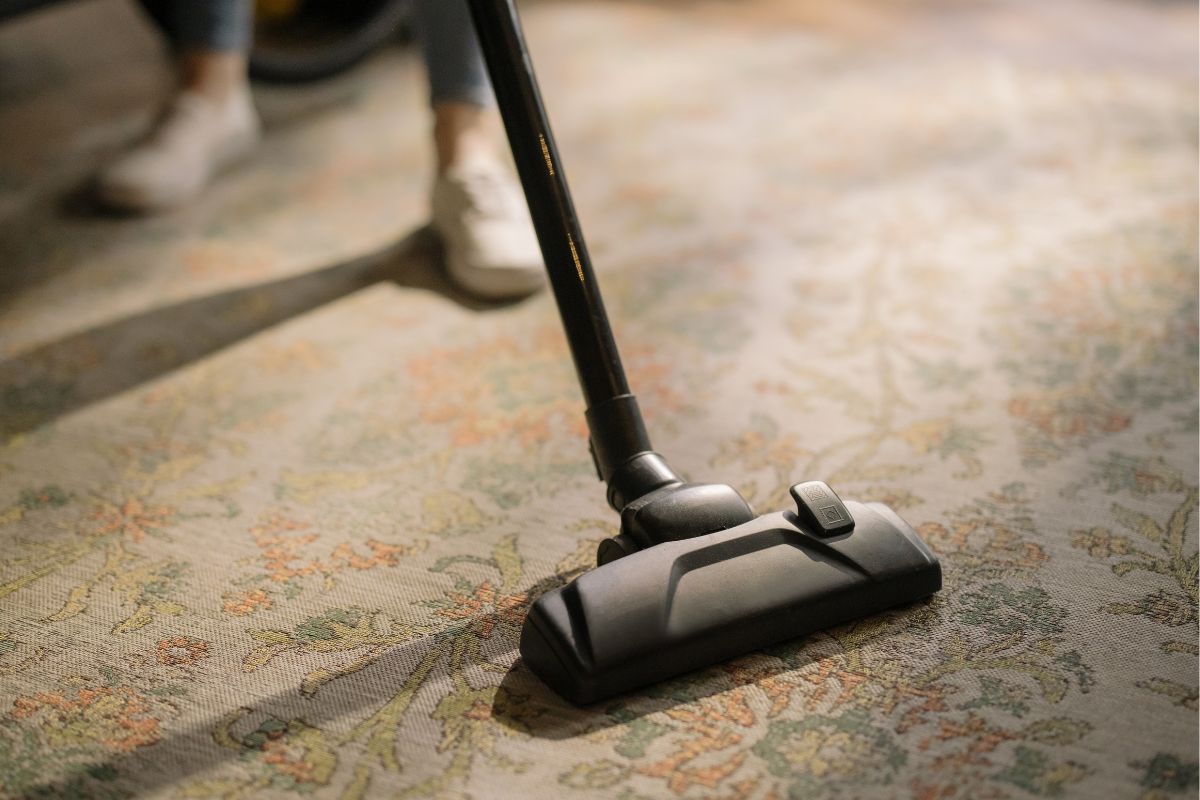
Dyson is widely regarded as one of the best manufacturers of vacuum cleaners around the world. Their cordless range offers lightweight household cleaning that makes it easy to reach difficult places in the home.
However, they need a little work to get set up at first. This is because of the charging station that needs to be correctly installed. Here is a complete guide to installing your Dyson docking station in your home.
How To Install Dyson Docking Station
Step One: Choose Your Location
First of all, you will need to decide on where you want to install your docking station. This can determine the types of materials that are needed as well as how easy it is to clean up messes.
Most people install their Dyson docking station against a wall in the kitchen.
This is because of the easy access and convenience during food preparation and eating. Consider the area of your home that gets the most use, and where you find yourself reaching for the vacuum cleaner more frequently.
Alternatively, you could set up your Dyson docking station against a wall in your pantry, underneath the stairs, or in your utility room.
Some people prefer to keep their Dyson vacuum cleaner tucked away with the rest of their cleaning supplies, while others like the visual reminder that they can easily tidy up the mess.
Make sure you are able to drill into the chosen wall by using a stud checker. It could also be worth marking where on the wall you want to install your Dyson docking station.
It is generally recommended that you are installing the docking station close to an outlet, because of the connection that is needed to charge your Dyson vacuum cleaner.
Step Two: Gather Supplies
Once you have figured out where you want to install your docking station, you can get the necessary supplies. If you have had a Dyson vacuum cleaner in the past, then you may not need to purchase certain supplies.
However, it could be worth getting spare supplies in case anything breaks with your docking station in the future.
If you are concerned about drilling into a wall, then you could use a timber post that is attached to the wall with glue or another adhesive measure. This is slightly less invasive, and helps protect the walls in older homes if needed.
You will also need a drill for making holes, and wall plugs in case the ones that came with your Dyson vacuum cleaner do not fit. You can use metal hooks if you prefer, or use the Dyson docking station that comes with the purchase of your vacuum cleaner.
Step Three: Make Holes
Check that the chosen spot on the wall is close enough to the outlet for the cable to reach before making any holes. Once you have done this, you can make holes using your drill.
Depending on the Dyson vacuum cleaner, the docking station will require a different number and position of holes.
Because of this, it is highly recommended that you take a look at the docking station and the designated spaces for wall attachment.
Because each model of Dyson vacuum cleaner is slightly different, you may need to make additional adjustments even if you have previously had a cordless vacuum cleaner with a docking station.
Step Four: Wrap The Cord
The next step is to begin wrapping the cord into the hidden section within the charging station. This is so that everything looks seamless and blends in with the rest of your home.
Lift the plastic section and wrap the excess cord around itself before adding it to this section.
Make sure that the docking station is plugged in, and that it can reach the chosen location before wrapping the excess. Obviously, you won’t need to do this if your cord just reaches the chosen location for your docking station.
Step Five: Attach The Wall Plate
Next you will need to attach the wall plate. Using the holes that you have made, you can line up the wall plate against them. They should have the plugs inserted by now, and you can then screw in the provided screws that come with your Dyson vacuum cleaner.
Again, these will vary slightly in shape and size, depending on the type of Dyson vacuum cleaner you purchased. There are, however, specific details included with the product itself.
Make sure you are carefully reading the directions that come with your Dyson cordless vacuum cleaner. This can allow you to get a visual explanation of which part connects where.
You can also get more detailed information regarding the specific model and version of your vacuum cleaner.
Step Six: Test
Finally, it is time to test everything out. After making sure that everything is connected correctly, you can attach your Dyson cordless vacuum cleaner into the newly installed docking station.
Then, you can check that everything has been done correctly by looking for the light on the vacuum cleaner. This will show whether it is charging or not.
You can also be sure that the docking station has been correctly installed by seeing if there is any movement when the Dyson vacuum cleaner is charging.
Make sure that everything is secure enough to stay in place, but also loose enough to easily insert and remove the vacuum cleaner.
Summary – Install Dyson Docking Station
Dyson vacuum cleaners offer a great deal of power, reliability, and versatility. This is seen in their cordless range of vacuum cleaners, that make it more convenient than ever to clean up household mess.
When you are installing your Dyson docking station, make sure that everything is as secure as possible. This can allow you to make the most out of your purchase in the long run. Check the product recommendations and directions in order to get accurate details.