
Today, we will teach you how to remove Shark roller brushes.
When you’re struggling to suck up dirt or debris with your Shark vacuum, you probably need to remove the brush roller to clean it.
If you’ve never owned a Shark vacuum before, you might be wondering: How do you remove the roller brush from a Shark vacuum?
Today, we will cover some key information on Shark vacuums, including how to remove the roller brush from a Shark vacuum to improve its condition and increase its lifespan.
Let’s get into it.
Prepare Before You Remove Shark Roller Brushes
- Check that you have turned off the Shark vacuum, and have removed the plug or charger from charging as this is dangerous.
- To prevent your hands from getting covered in dirt and bacteria from the vacuum cleaner, you should wear gloves.
- If you have allergies, be sure to wear a face mask to ensure that you’re protected and to prevent any allergy flare-ups. You should always make sure that you’re not in an enclosed space, and that there is plenty of airflow in the area.
How To Remove Shark Roller Brushes
As there are multiple Shark vacuum cleaners out there, in this section I will run you through how to remove the roller brush from a few popular models.
Shark Navigator Vacuum

Step One – Separate The Head Of The Vacuum
To get started, separate the head of the Shark Navigator vacuum from the rest of the vacuum cleaner.
Step Two – Flip The Head Over
Next, you need to flip the head of the Shark vacuum over in order to get a better view of the screws.
Step Three – Remove The Small Screws
When you’ve got access to the four screws that are next to the two larger wheels and above the brush, remove them with a screwdriver.
Step Four – Remove The Wheels
Using a flat head screwdriver, you will need to pop the small wheels out and remove the screws that are hidden in the crevices.
Step Five – Loosen The Brush Compartment
Once you’ve managed to loosen the compartment, you will need to turn the head over to separate the lower half from the upper half.
Be very careful to not pull the wire connection in this process.
Step Six – Remove Any Hair That Is Entwined In The Brush
Now you will need to clean the brush, so carefully cut any hair that has become entwined in the brush with scissors.
As the hair begins to loosen with the scissors, keep pulling until the brush is totally clean.
Step Seven – Reinsert The Roller Brush
Next, you will need to reinsert the roller brush back into its original position before attaching the cover.
Step Eight – Reinsert The Screws With The Screwdriver
Following this, you will need to reinsert the screws with the screwdriver in order to reassemble the vacuum.
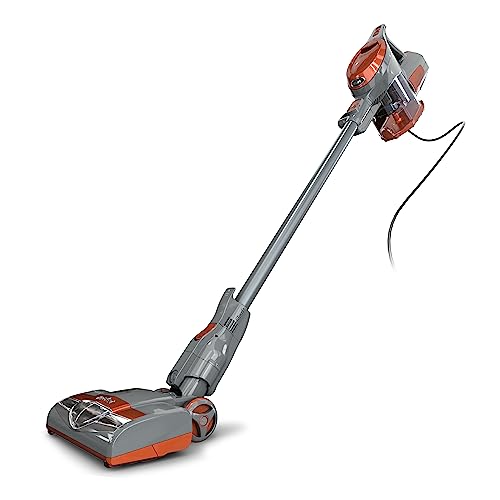
Shark Rocket Vacuum
Step One – Disassemble The Head Of The Vacuum
To begin, you will first need to disassemble the head of the vacuum.
Step Two – Check Out The Head
Next, you will need to check out the head of the vacuum in order to find the release buttons that are on the side of the head to remove the cover.
Step Three – Slide The Roller Brush Out
There is a tab on the side of the vacuum that you should pull so that you can slide the brush out.
Step Four – Clean The Brush
Next, you will want to clean any dirt and hair that has gotten entangled in the roller brush.
Being careful not to damage the brush, use a tool that is specifically designed to remove hair from Shark to help you free up stubborn bits of hair that are stuck.
Step Five – Check For Damages
Once you have given the roller brush a clean, it’s time to check to see if it is damaged.
If you notice any damages, it’s time to replace your Shark roller brush.
If there’s no damage to note, move onto the next step!
Step Six – Reinsert The Roller Brush
To reinsert the roller brush, you will need to slide the brush on the side that doesn’t have the tab.
You will need to ensure that the roller brush is facing upwards in order to push it into place.
Step Seven – Remove The Soft Roller
Last, you will want to remove and clean the soft roller. To remove it, simply pull the button that’s located on one side of the vacuum and it will pop out of place.
Step Eight – Clean The Soft Roller
Clean the soft roller using a damp cloth.
However, you will need to make sure that you allow it to completely dry before you reinsert it into place.
Step Nine – Reinsert The Soft Roller Into Place
Slide the soft roller into its original position.
Now you have successfully cleaned, and your vacuum is ready to go!
These are just two popular Shark vacuums, as the removal procedure for roller brushes can differ depending on the model of Shark vacuum that you have.
Bearing this in mind, you will want to make sure that you check the manual before you attempt to remove the roller brush from your model.
Is It Challenging To Remove Shark Roller Brushes?
The procedure for removing the roller brush from a shark hoover differs depending on the model.
While some require additional tools, such as a screwdriver in order to remove the roller brush, others do not.
If you have any hesitations about removing the roller brush from your Shark vacuum model, be sure to check the manual on what to do.
Alternatively, you should wait for someone who knows what they’re doing to help you out, especially if you believe you could break something.
In Summary – Remove Shark Roller Brushes
And that’s how you remove the roller brush from a Shark vacuum!
Hopefully you’ve gained a better understanding of how to remove the roller brush from a Shark vacuum and now know how to clean it, too.
Good luck removing the roller brush from a Shark vacuum.