
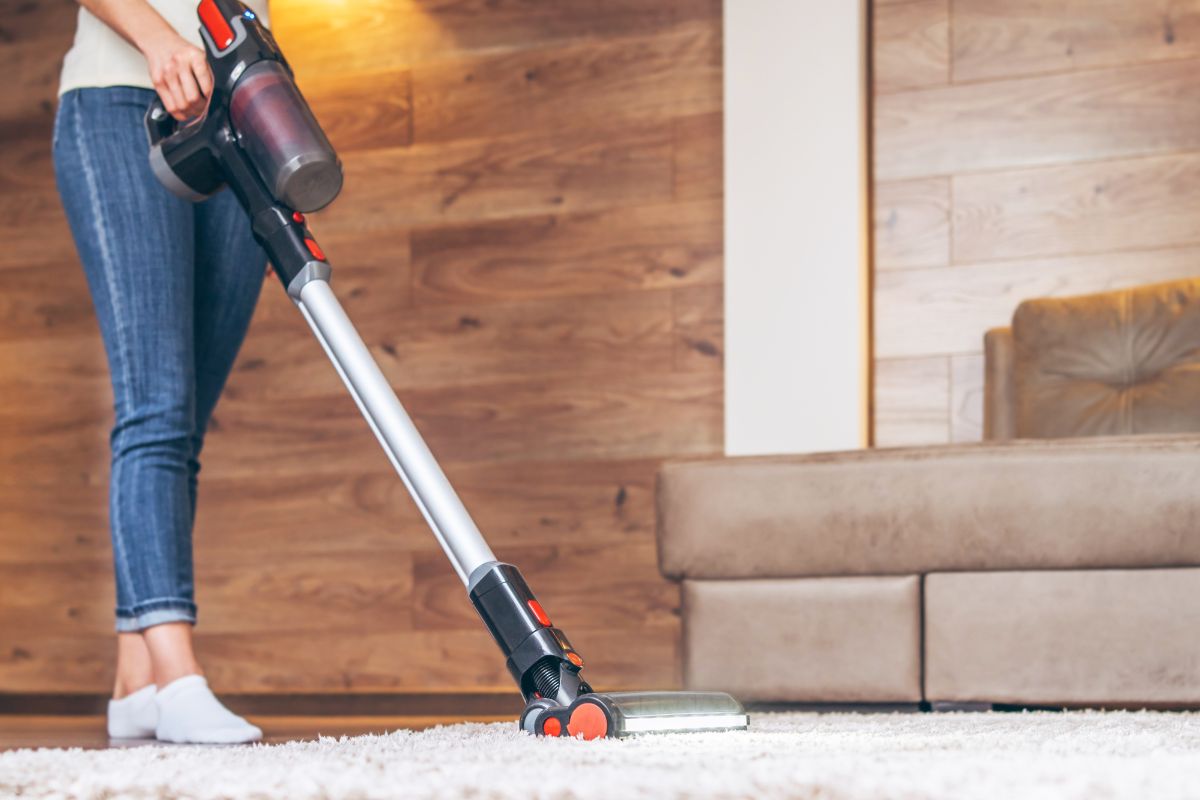
Let’s talk about the steps on how to replace a Dyson V8 battery.
A Dyson vacuum cleaner can be one of the most reliable things in your home. However, if it starts to lose power or has trouble sucking up dirt, then you might have to look into replacing the battery.
However, this is something that not a lot of people will have to contend with. Most people will often choose to replace the entire vacuum cleaner rather than change a simple battery.
But if you want to save yourself a lot of money in the long run, then we would recommend a battery replacement.
But how can you replace the battery in your Dyson vacuum cleaner? Is changing the battery on the V8 different from other models?
How can you change the battery on your vacuum without damaging it? Well, if you want the answers to all of these questions and more, then we would recommend that you read on.
How Can You Tell When Your Dyson V8 Battery Needs Replacing?
There are a few warning signs that the battery on your Dyson will need replacing.
One of the main ones is that there will be a red warning light that will flash to indicate that your battery is not only running low on charge but is actually losing function.
It will also have trouble holding the same amount of charge that it used to when you first started using the vacuum.
If you have noticed that you need to charge your Dyson battery much more regularly than usual, then this will definitely be a sign that your battery is failing.
You’ll need to get it sorted before it cuts out completely.
This task is a simple one if you have the information, the patience and the tools to do so. So here is a quick guide.
How To Replace Your Dyson V8 Battery
When it comes to replacing the battery on your Dyson, you’ll need only one or two tools to start the job:
- Philips screwdriver – ideally you’ll want one that comes with a rubber handle.
- Replacement V8 battery.
Once you have got these two, then you can set about changing out your battery.
1. Remove The Wand
Firstly, you unplug your Dyson to avoid seriously hurting yourself by electrocution. Once you have done this, then you can go about taking out the wand.
Take the screws out of the wand and then slip it out of the case.
2. Unscrew The Battery
Then take your screwdriver and start to unscrew the screws that are holding the battery in place. These screws might be hard to see at first.
The first screw is located behind the main trigger. Once you have unscrewed this one, then there are only a few more to find.
The other two screws are located underneath the dust container behind the battery. Once you have taken these two screws out, then you should be ready to remove the battery from the rest of the vacuum.
You’ll need to make sure that you use a rubber-handled screwdriver so that it doesn’t slip.
We would also suggest that you use a screwdriver that is the right size.
Otherwise, you’ll run the risk of stripping the screw itself and being unable to unscrew it with any type of screwdriver. Then you’ll have to get a strong magnet to unscrew it.
3. Remove The Battery
Once the screws have been removed, then you should be in a better position to remove the battery completely.
You’ll have to make sure that the battery is properly supported when you remove it, otherwise, you might drop it on the floor, where it will smash into pieces.
Make sure that you keep the screws safe either in a dish or a container of some kind so that they don’t get lost.
4. Put In The New Battery
Once the battery has been taken out, put it to one side for disposal at a later date.
Then you’ll need to take the new battery out of the box to reattach it to the vacuum. This should be fairly simple, as you have just done the process of reattaching, but only in reverse.
Once you have placed the battery over your vacuum cleaner, then we would recommend that you hold it with one hand while you attach the bottom screws first.
Once these screws are in place, then you should have it secure enough to hold it all in place to screw the final screw without stabilization.
How Long Will Your Dyson V8 Battery Last?
This will all depend on how long well you look after your Dyson, as well as how frequently you use it.
If you are cleaning regularly, then this will result in a lot more wear and tear to your battery, which will result in the charge dwindling over a period of time.
Most people generally agree that a Dyson V8 battery will roughly last you around 2-3 years.
However, if you are using your Dyson frequently, then you might only find that it lasts you around 1.5 years in total.
If you keep your Dyson plugged in when you are using it, then this will save its battery life. However, you want to prevent the likelihood of it overcharging.
Luckily, a lot of these Dysons have built-in battery-saving modes that will automatically shut off the Dyson when it is getting too hot.
Where Can You Buy A Dyson V8 Battery?
You can find Dyson batteries from a host of retailers, one of the main ones being Amazon.
If you are buying electronics online, then there is always the risk of it not working in the first place. One of the only ways of purchasing something that is reliable is by seeing how many reviews it has.
Dyson also sells replacement batteries for all of its products, although you might find yourself paying a much higher price for these batteries.
If you are going to the manufacturer, then the overall price, including postage, might be over $100 more expensive than from somewhere like Amazon.
Conclusion
We hope that our guide on how to replace a Dyson V8 battery has given you everything that you need to know about completing this task.
If you are using a Dyson V11 and needs battery replacement, we also have a list of the best battery replacements for them.