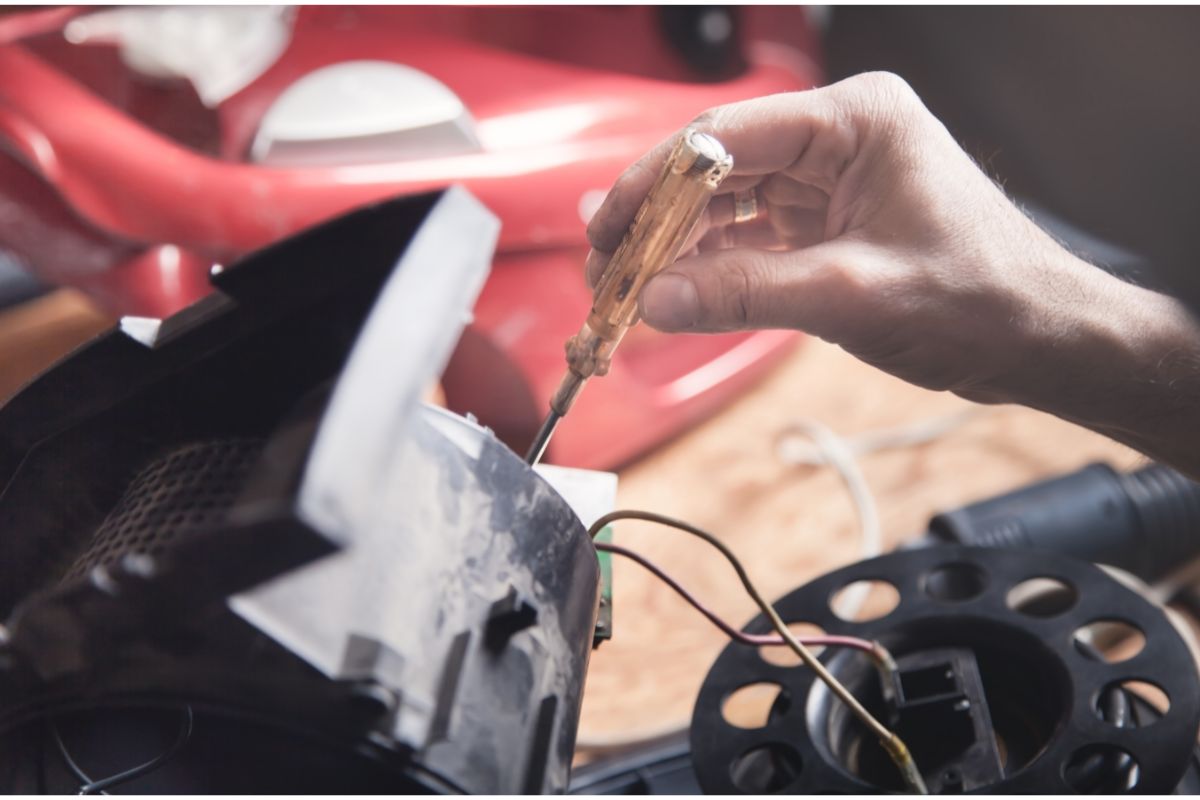
There are many reasons why your Bissell Crosswave might have stopped working. The battery might be low or completely broken. It might also be because your dust cup is too full. It could also be the fact that your Bissell vacuum belt has snapped.
This little belt is what attaches the motor to your rollers that are responsible for the brush head moving around as it does. You might be tempted to get rid of the vacuum entirely, but you can replace this belt easily and for relatively little cost.
So how best can you replace the belt on your Bissell? Does it cost a lot to buy a new vacuum belt? What tools will you need to replace this belt? Well, if you want the answer to these questions and a lot more, we would suggest that you keep reading.
What Is A Bissell?
This type of vacuum, also called a Bissell Crosswave, is a multi-functional cleaner that acts as a mop and a vacuum cleaner in one.
This will wipe down the floor with warm water while also sucking up pieces of debris. This is perfect for getting rid of stubborn stains from harder surfaces such as laminate flooring and hard tiles.
This also comes with an option that will let you get rid of stains on carpets very easily. All you have to do is push a button and will adapt to your needs.
What Does A Bissell Vacuum Belt Do?
This type of belt is commonly found in a lot of different models of vacuum cleaners. If you have ever been curious to look inside your vacuum cleaner, then you will see rollers underneath that are covered in tiny bristles.
These bristles rotate very fast, basically acting like miniature sweeps that scoop up all the dirt and, along with the powerful suction, whisk them up into the body of the vacuum itself.
The belt is what connects these rollers with the motor of the vacuum. This belt moves quickly, allowing the motor to roll the brushes quickly. If this belt snaps, then the connection is severed and it will not be possible for your vacuum to fulfill its function.
But can you replace this vacuum fan belt? The short answer is yes, with a little patience, skill and not much money.
How To Replace Your Bissell Vacuum Belt
First off, you’ll need to assemble the right tools for the job. Luckily for you, there will be very few tools that you’ll need:
- New fan belt
- Screwdriver
These are the only two things that you’ll need. Neat, huh?
Now that you’ve gathered this vast array of tools, you can get stuck in with the job of replacing your vacuum belt.
Safety First!
First, you need to make sure that you have disconnected your vacuum. If you have it plugged in, the chances are that it might turn on while you are cleaning it and send dust flying everywhere.
You could also run the risk of giving yourself an electric shock if the vacuum is turned on while you are cleaning, so it is better to be safe than sorry.
How To Get To The Belt
You’ll have to flip the vacuum either onto its side or upside down in order to get to the rollers that are used to clean the underneath.
You’ll want to remove the soleplate from underneath the vacuum by taking off the four screws that are underneath.
Once you have taken off this plate, you should be able to clearly see the small rubber belt that is tied around the roller. If this belt is snapped, then you should be able to see the two loose ends hanging down near the roller.
Taking Out The Old Belt
Once you have exposed this part, it is time to go about changing the old belt.
First off, you’ll need to remove the old belt from the spindle. You can do this easily using your fingers. However, it might be extremely tight, so you might have to use a screwdriver to jimmy it loose. We would recommend using a flat head screwdriver for this.
You might have to roll the roller with your finger to completely disentangle the belt from the spindle. Once it is loose, discard the old belt.
Fit The New Belt
Take the new belt and feed it through the spindle, turning it around with your hands. This might take a little bit of rolling and unrolling as the belt might get twisted and it will be hard to get it flush to the belt itself.
You’ll have to make sure that the new belt is right in the grooves. This is to make sure that it will not twist and get tangled in the motor once the vacuum cleaner is running as this could cause the belt to snap once again.
Once you have tied to belt back on securely, then replace the soleplate and screw in the screws. Make sure that the soleplate is placed firmly on the vacuum before you start using it again.
If the belt is not attached properly, then you should repeat the steps above and make sure that the belt is secured firmly.
Other Tips For Replacing Your Bissell Vacuum Belt
Make sure that you wear protective gloves and maybe a mask when you are cleaning your vacuum. This is because vacuums often contain a lot of dust particles and they might trigger certain allergies.
Also, if you have pets, then some of their hairs might be entangled in the rollers. This might also cause you to have an allergic reaction.
If you want to clean your rollers of hair, then we would recommend snipping them with a pair of scissors.
Conclusion
We hope that this article has helped you to change the belt on your vacuum and has made this daunting task seem slightly easier.

